Overview
If you have created Custom Entities, you can make them visible to the Reporting tool by adding the Entity table to the Reporting database.
Before You Begin
- You should have created the new table (typically as a Custom Entity and associated Profiles) that you wish to report on.
- Log into PRM Admin with Report Designer Task Level 3 rights.
How to Extend the Reporting Domain
- Navigate to Reports > Report Designer.
- Click Home in the top menu bar.
Figure: Screenshot of the initial Report Designer showing the Home button.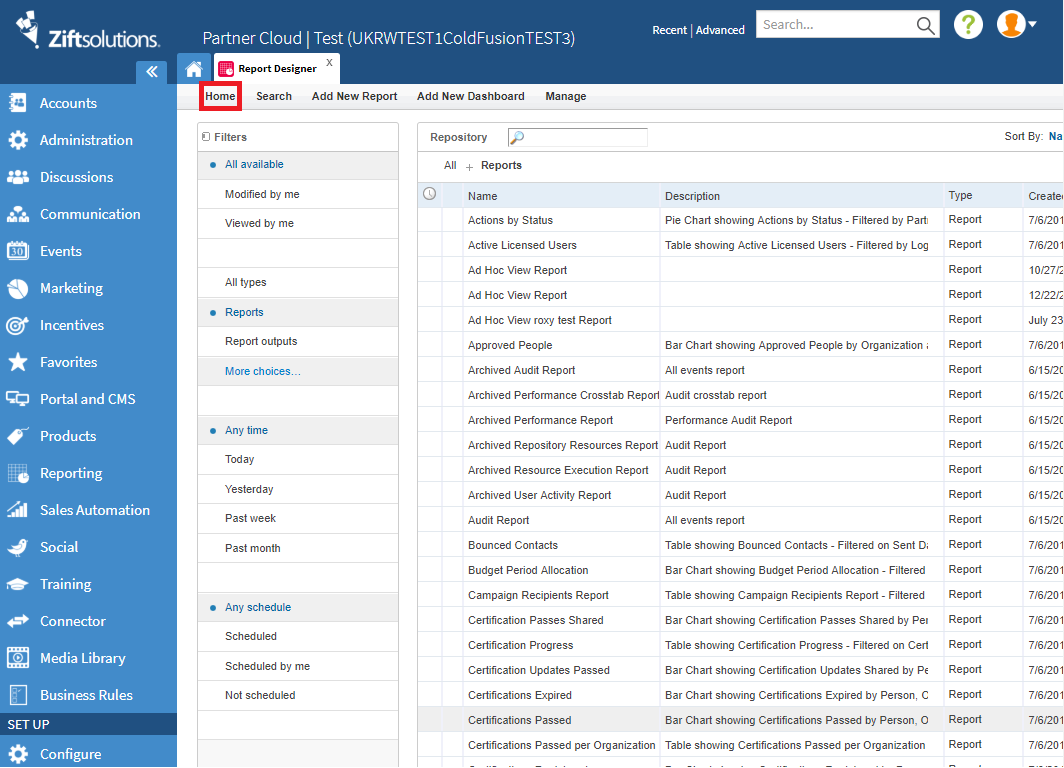
- In the Folder Panel, right-click on the top level folder where the existing Reports are stored. Expand the folders.
- Right-click, select Add Folder. Provide a name and description for the new folder. Click Add. It is best practice to use the name of the relevant Entity to simplify future use. The new folder should appear in the Folder panel, in alphabetical rank.
- Right-click on your new folder, scroll down to Add Resource.
- Select Domain from the drop-down menu. Provide the requested information for the new Domain definition.
- In the Add New Domain view, select Create with Domain Designer.
- Click the hyperlinked text to open the domain designer.
- Scroll down to the dbo (database objects) folder, click Ok.
- In the display, scroll down to the folder called dbo_<entity> where <entity> is the name of your custom entity.
- Click on the folder to select it.
- Click the triangle between the two panels to add all of the tables to the Domain. Each table will reflect one of the entity's Profiles.
- Click Submit.
Comments
0 comments
Please sign in to leave a comment.