
Overview
Zift PRM uses a SAML Certificate to verify authenticity when communicating with third-party systems using SAML. The process for generating this certificate is the same whether Zift PRM is acting as an Authorization Server or Identity Provider.
A SAML Certificate is a file that is used to validate that the originator of an authentication query is truly represented. The same steps apply whether you are using the certificate to authenticate an identity or service provider.
Before You Begin
Log into PRM Admin with adminTask Level 1 rights, userTask Level 3 rights and ssoTask Level 3 rights.
Best Practice for Relaytags
While you can use more than one Relaytag on a single page, we recommend that you only do so if the Relaytags are querying different data. Interference and unexpected behavior may result if two Relaytags on a single page attempt to access the same data.
Manage SAML Identity Providers Menu
- Service Provider Metadata
- Certificate Management
- Generate SAML Identity Provider
How to Generate a SAML Certificate
A SAML Certificate is a file that is used to validate that the originator of an authentication query is truly represented. The same steps apply whether you are using the certificate to authenticate an identity or service provider.
- Navigate to Administration > Manage SAML Identity Providers.
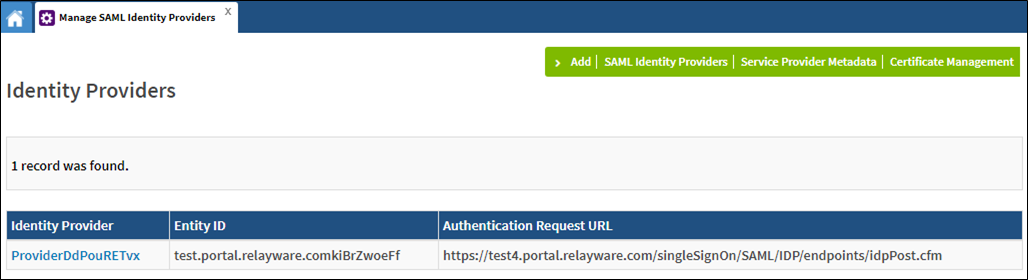
- Click Certificate Management in the menu bar.
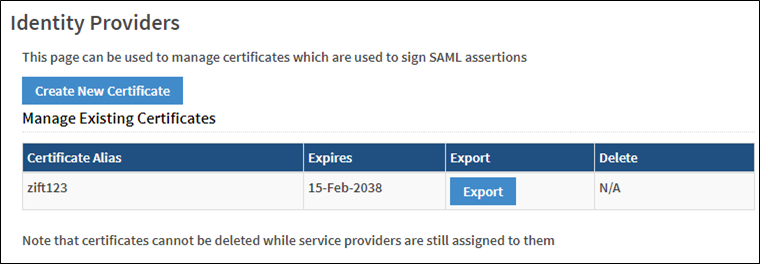
- Click Create New Certificate.
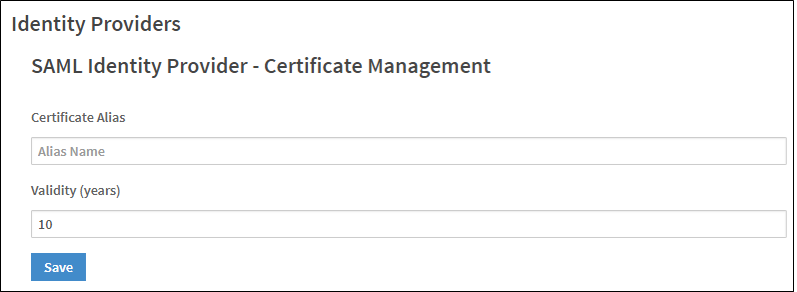
- Enter a Certificate Alias and Validity period.
- Click Save.
How to Generate Service Provider Metadata
After generating a SAML certificate, the next task in designating Zift PRM as the service provider is to produce an XML file.
This task explains how to generate the XML metadata file that the identity provider needs to ensure the correct information is included in assertions sent to Relayware.
- Navigate to Administration > Manage SAML Identity Providers.
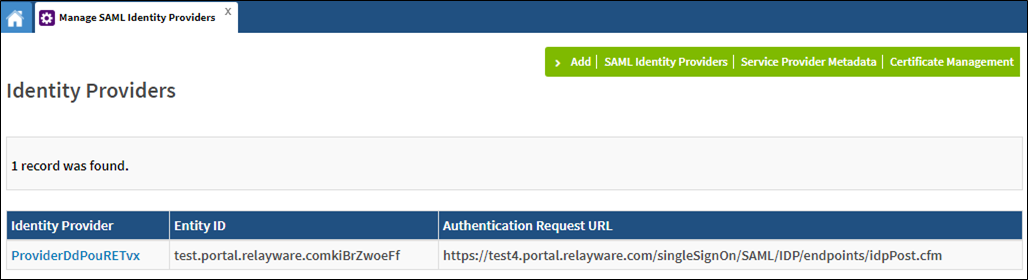
- Click Service Provider Metadata in the menu bar.
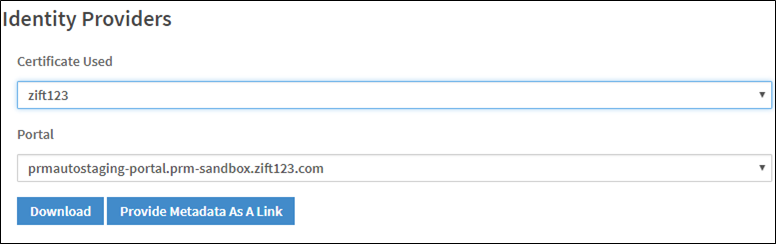
- Select a Certificate and Portal to generate metadata for.
- Click Download to download the XML file or click Provide Metadata As A Link to display the URL.
How to Add a SAML Identity Provider
This task is the last step in setting up Zift PRM as a SAML Identity Provider. The task explains how to configure SAML Service Providers.
- Navigate to Administration > Manage SAML Identity Providers.
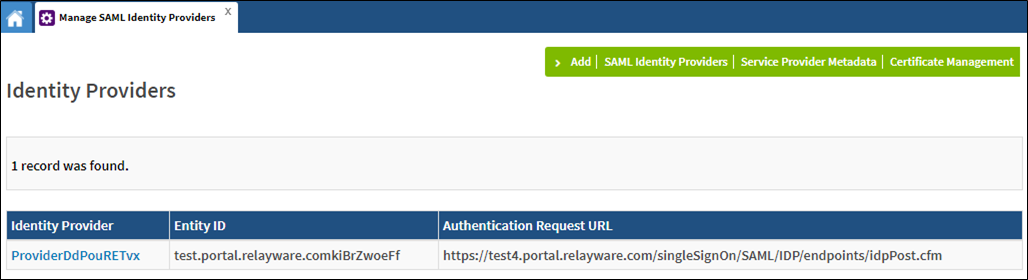
- Click Add in the menu bar.
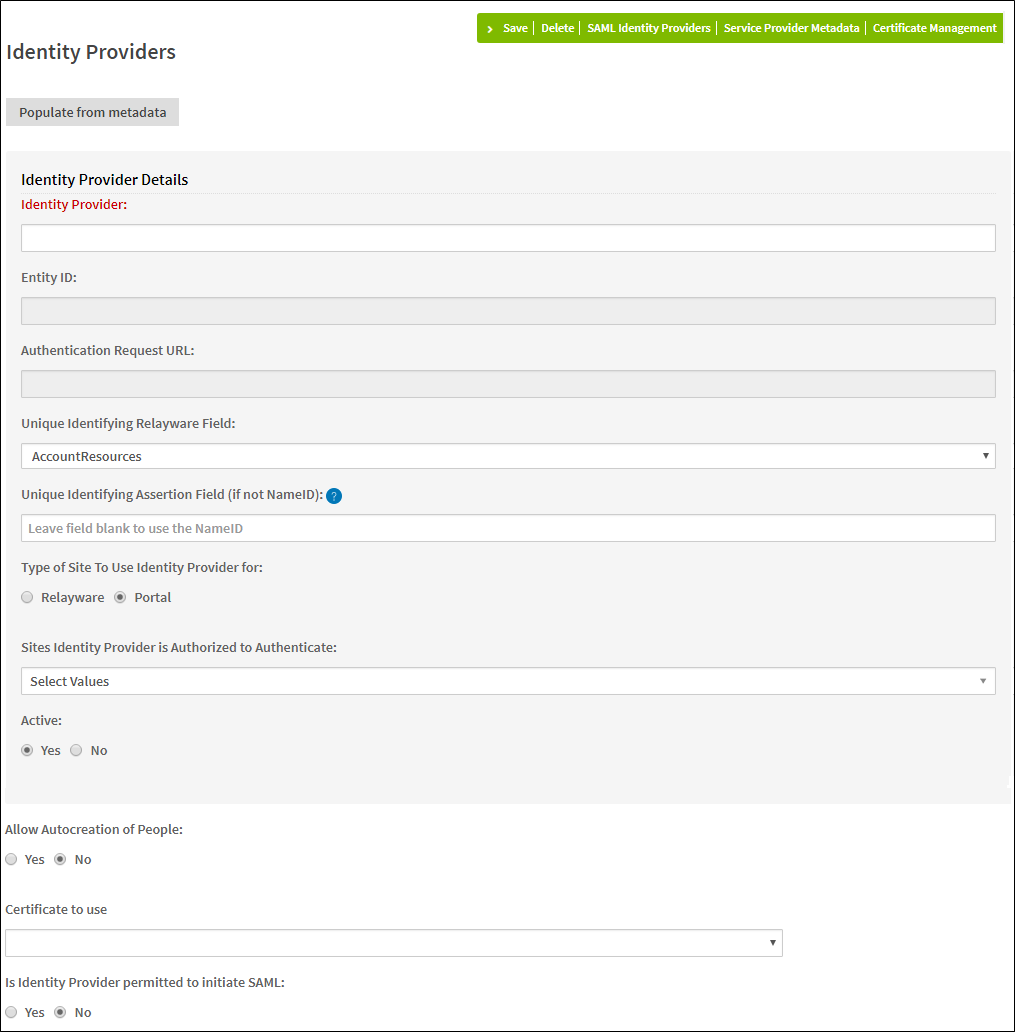
- Click Populate from metadata.
- Navigate to the location of the XML metadata from the service provider. Click Open.
- [Non-standard SAML configuration] If the NameID is not used in the assertion as the unique identifier, you can specify a different field in the Unique Identifying Assertion Field.
- [Optional] Allow Autocreation of People: If Yes is selected, additional fields are displayed:
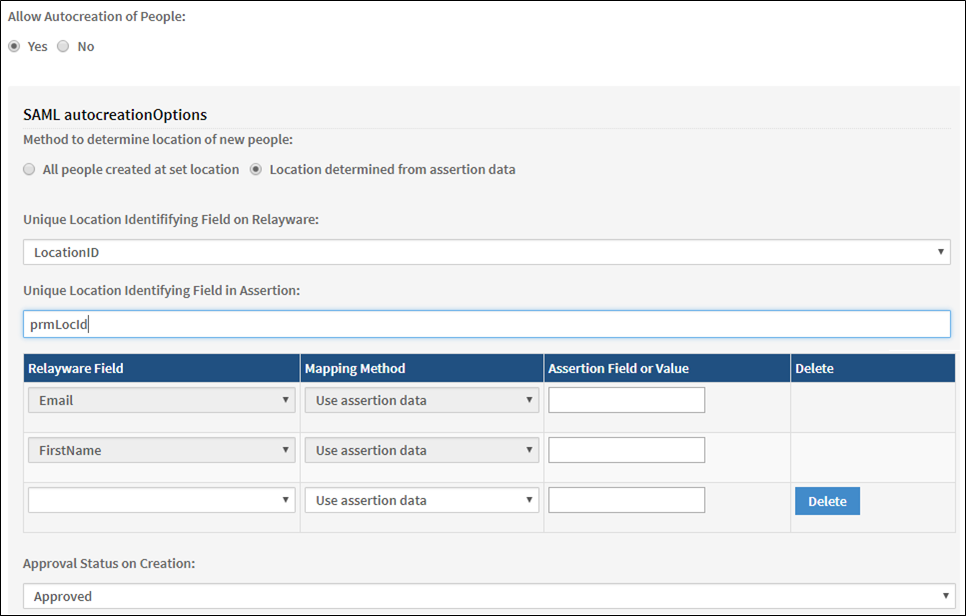
- Select the required values.
- Click Save.
Comments
0 comments
Please sign in to leave a comment.