Overview
The most efficient way of managing which Users are included in a User Group is to define Profile-based criteria. This is best practice because it automates the management of User Group management. Each time a User is modified they will be added to User Groups they now match and removed from User Groups they no longer qualify for.
This is the best practice approach to managing User rights.
Before You Begin
You must have previously created a User Group before you can assign users to it.
Log into PRM Admin with userTask Level 3 rights and adminTask Level 1 rights or greater.
How to Manage User Group Membership using Profiles
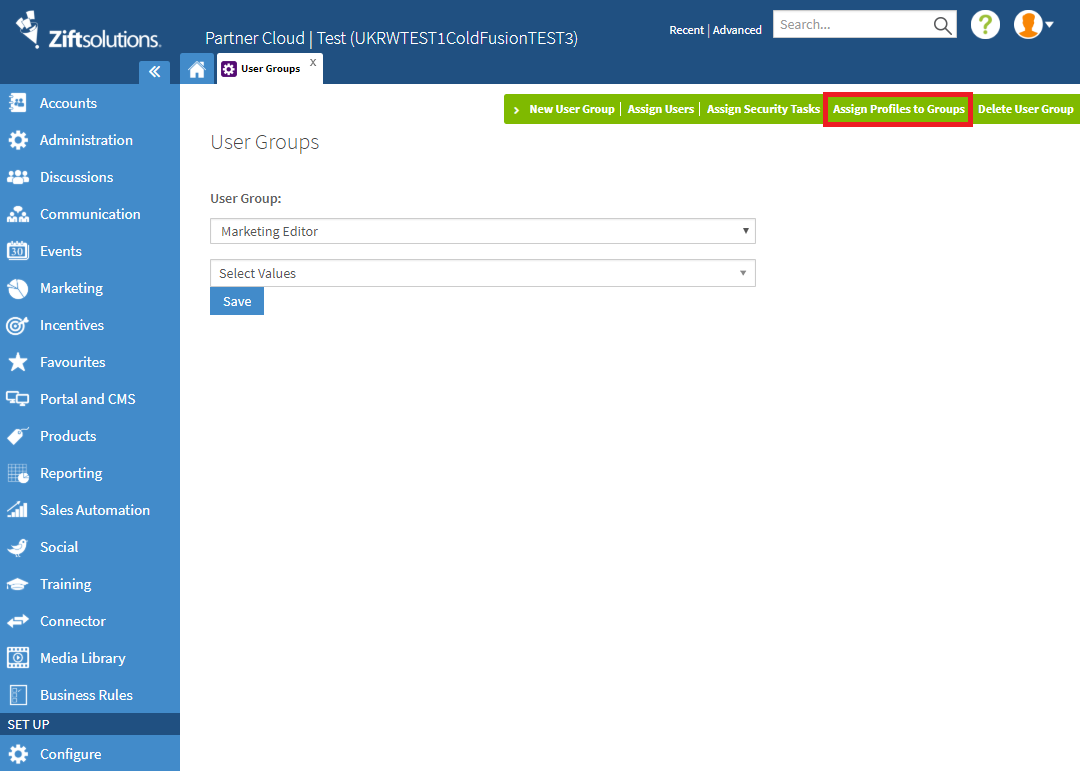
- Click Assign Profiles to Groups from the menu bar.
Figure: Initial User Groups screen. Red square shows the Assign Profile to Groups button.
This will refresh to display a new screen with four fields. You can change the selected User Group if desired. Any conditions defined in this screen will be applied to the selected User Group.Figure: Profile Assignment Screen with a selected User Group.
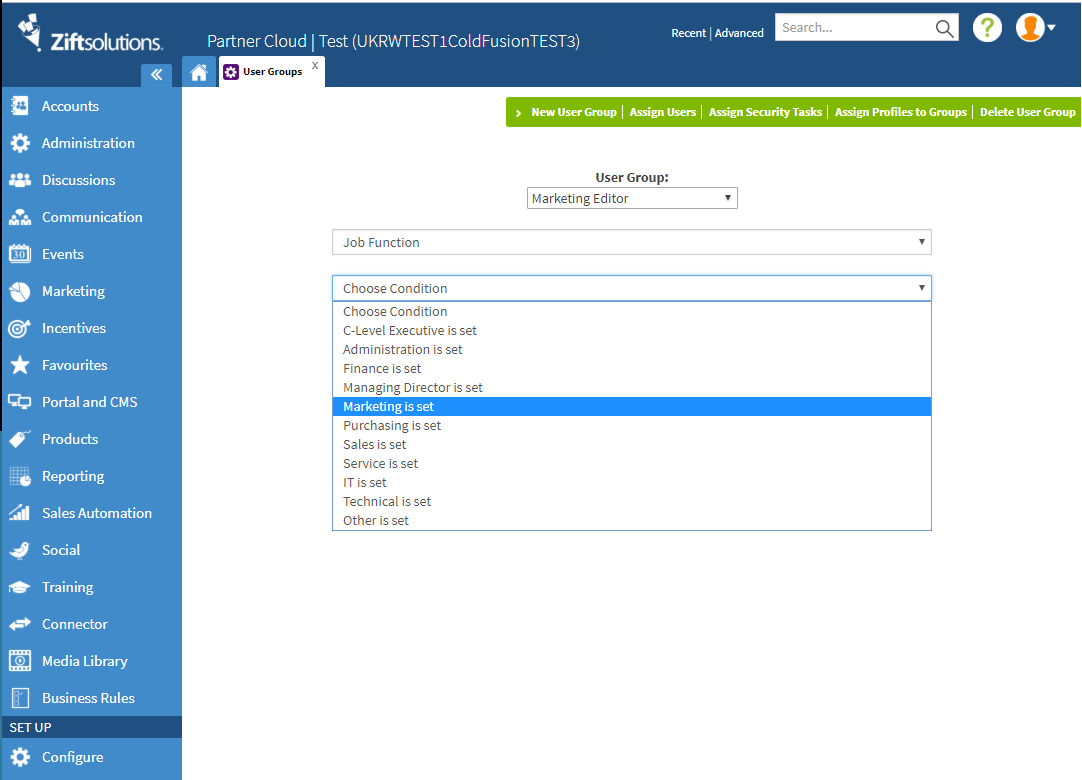
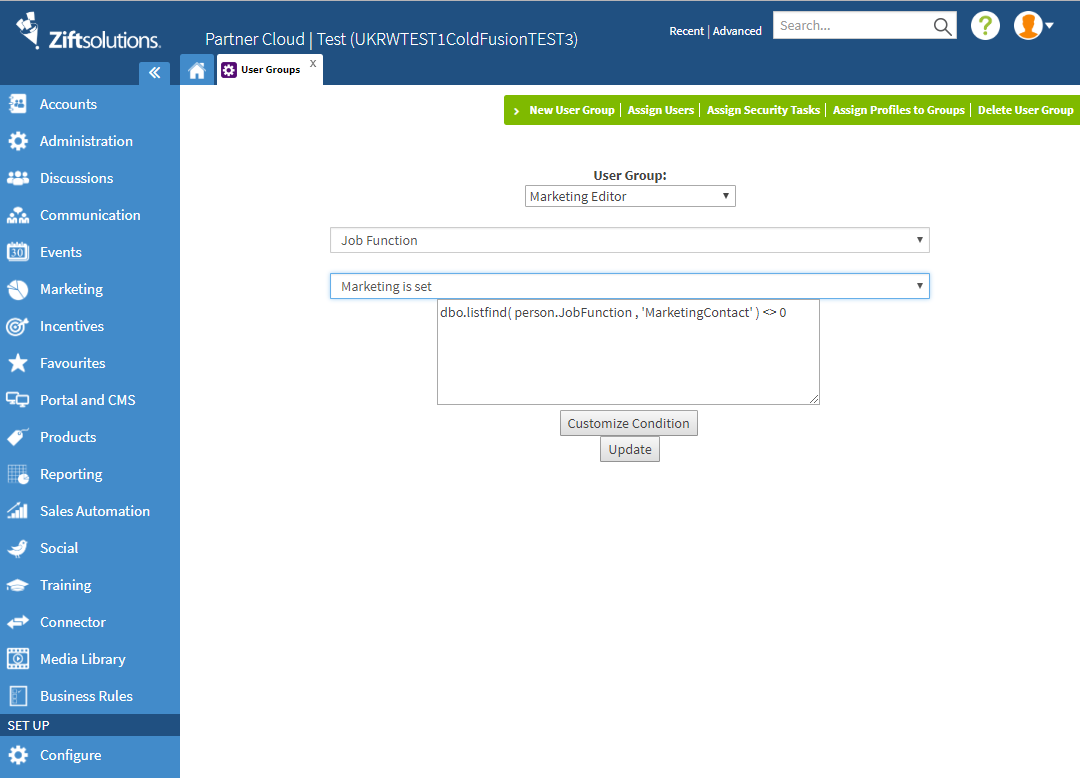
- Select the Condition that you want to evaluate. This will be auto-populated with the Attributes associated with the selected Profile.
Figure: Example of an auto-populated condition displayed after a Profile and Condition are selected.
Comments
0 comments
Please sign in to leave a comment.